A coolant leak can be a headache for any vehicle owner. Left unchecked, it can lead to overheating, costly repairs, or even engine damage.
If you’re new to car maintenance, don’t worry! This guide will walk you through the steps to check for a coolant leak, ensuring you keep your vehicle in tip-top shape. Let’s dive in.
What is Coolant and Why is it Important?
Coolant, also known as antifreeze, is a liquid that circulates through your engine to regulate its temperature. It prevents the engine from overheating in summer and freezing in winter.
A coolant leak can disrupt this process, leading to serious issues. Detecting leaks early can save you time, money, and potential car troubles.
Signs of a Coolant Leak
Before you begin inspecting your vehicle, look for these common signs of a coolant leak:
- Low Coolant Levels: If the coolant reservoir is frequently low, it could indicate a leak.
- Puddles Under the Car: Bright green, orange, or pink liquid under your vehicle is often coolant.
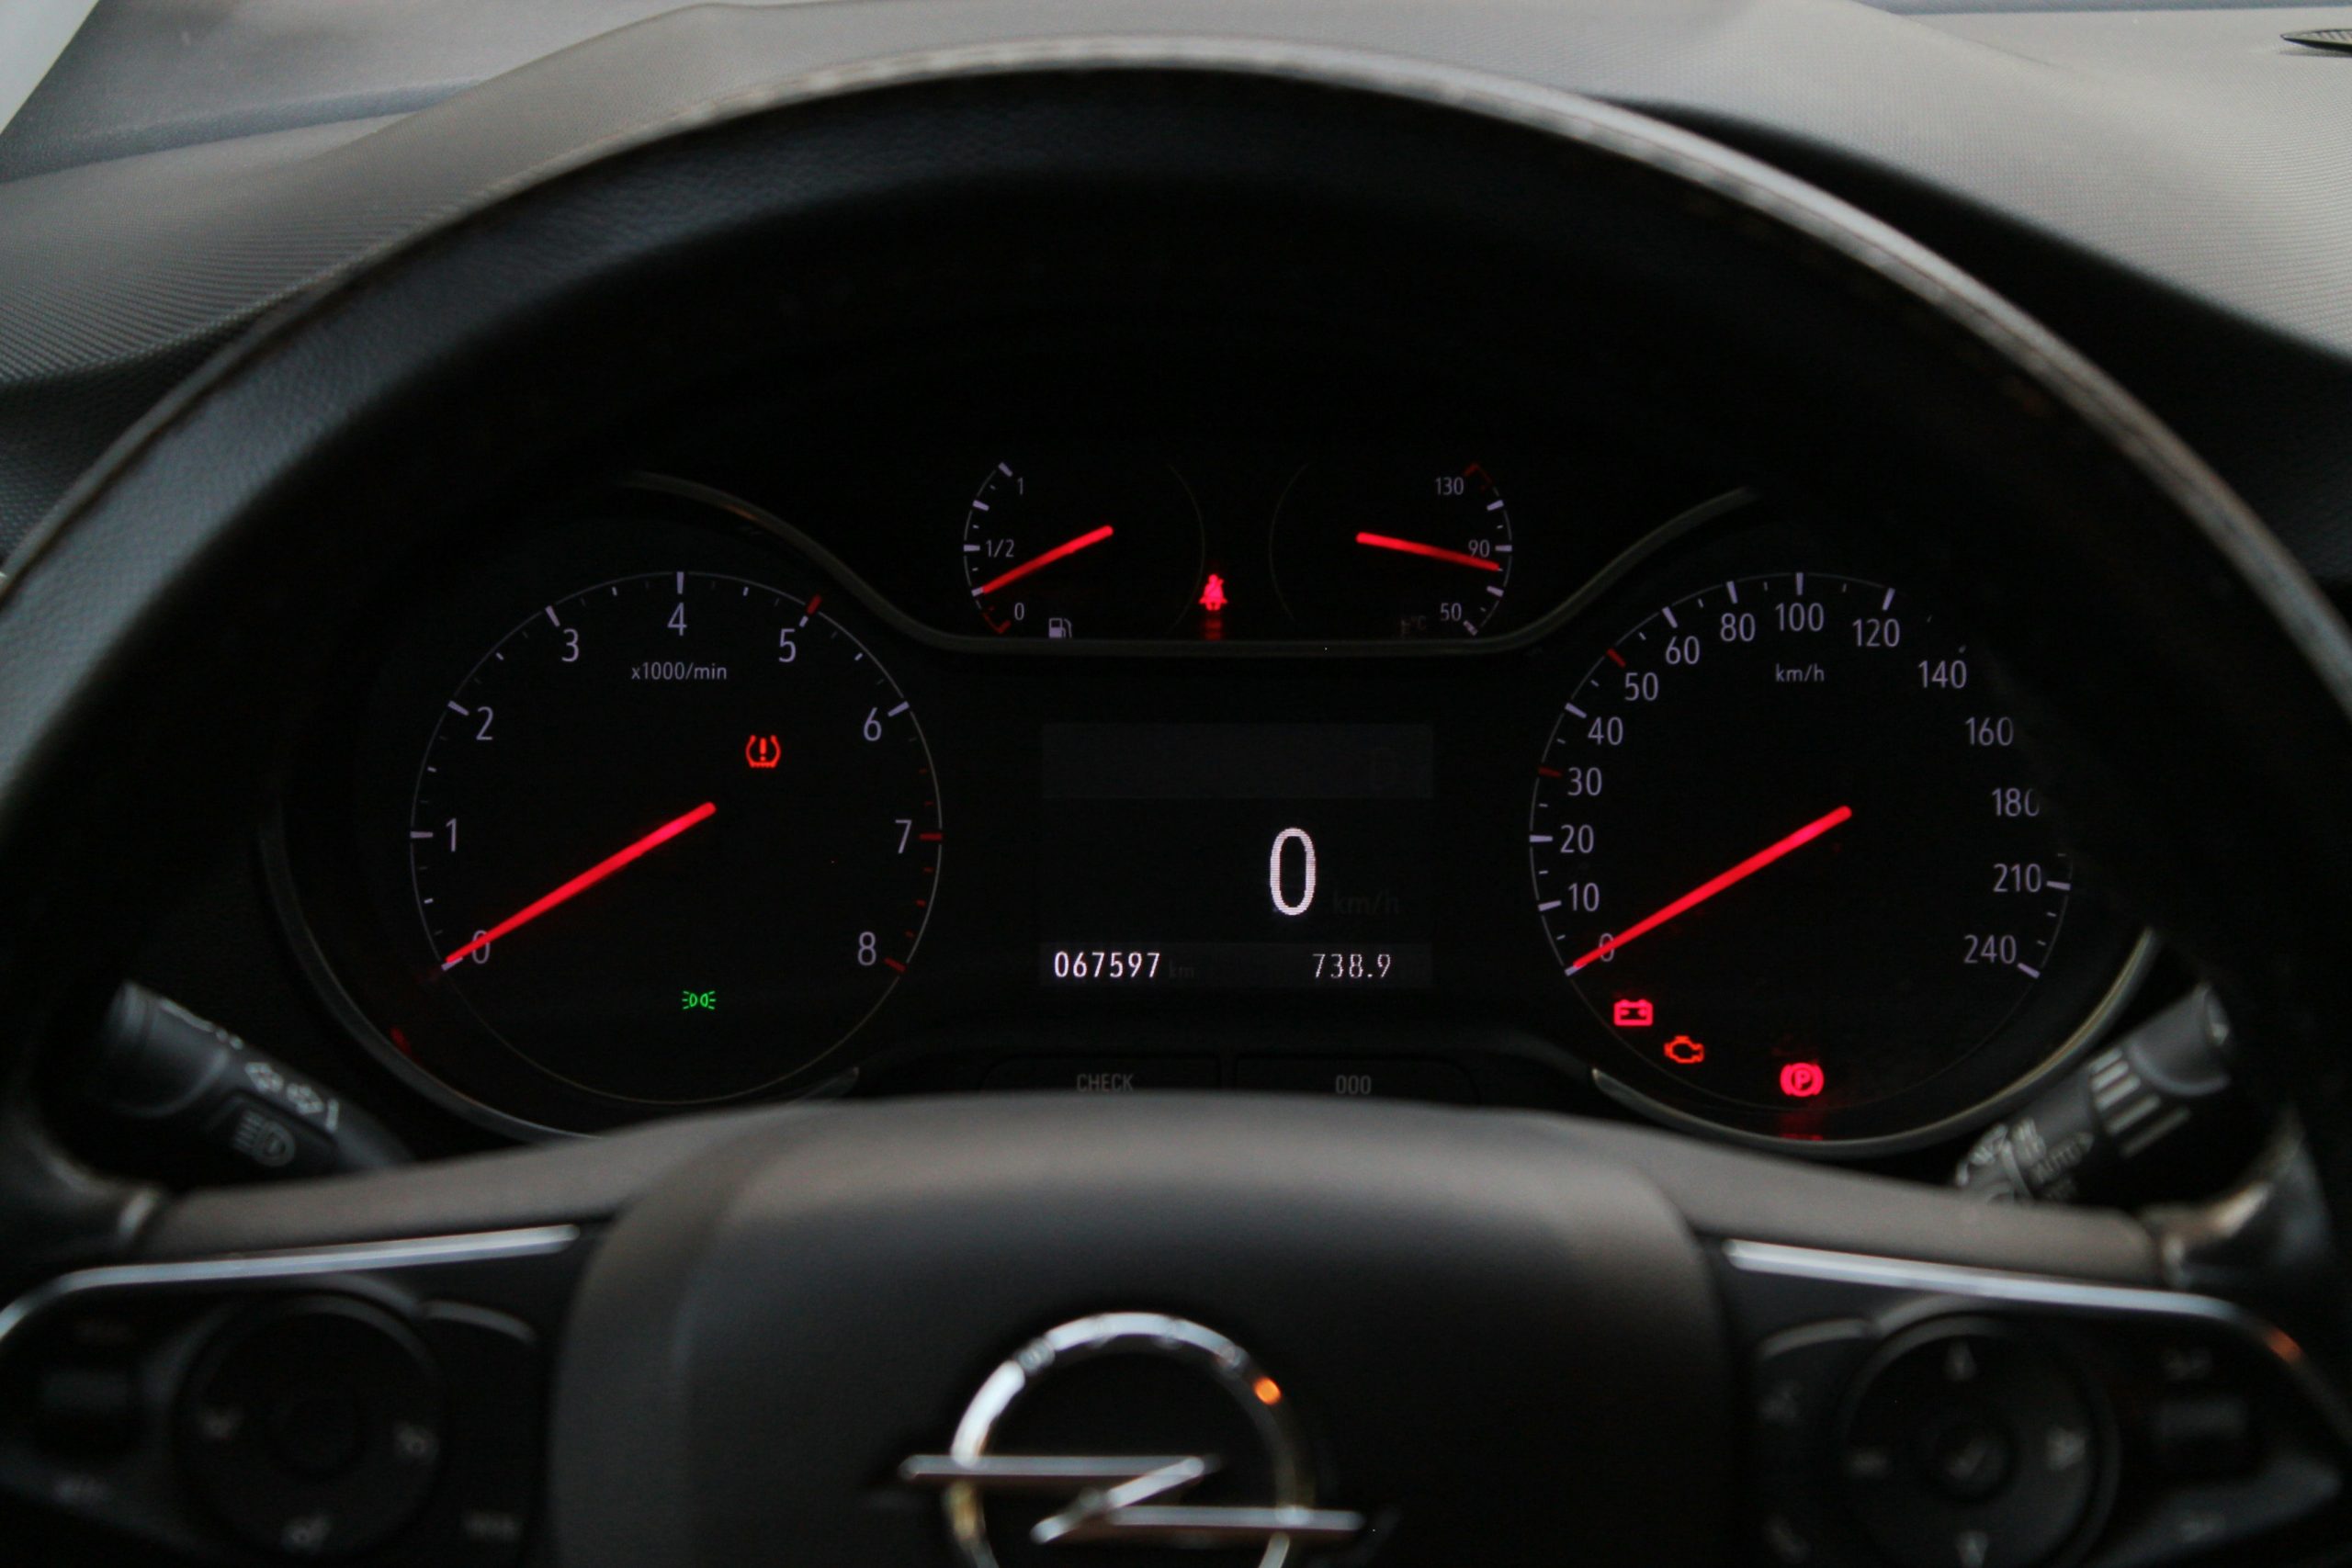
- Overheating Engine: A sudden rise in engine temperature may signal a coolant leak.
- Sweet Smell: Coolant often has a sweet smell, especially noticeable if it’s leaking onto hot engine parts.
- White Exhaust Smoke: If coolant leaks into the engine, it may cause white smoke to come out of the exhaust.
Step-by-Step Guide to Check for a Coolant Leak
1. Safety First
Before starting, ensure your vehicle is parked on a level surface and the engine is completely cool. Never attempt to check for leaks when the engine is hot; it can lead to burns from pressurized steam or hot coolant.
2. Inspect the Coolant Reservoir
Locate the coolant reservoir, usually a translucent plastic tank near the engine. Check the coolant level against the markings on the tank. If it’s below the “minimum” line, a leak might be the culprit. Look for any visible cracks, stains, or wet spots on the reservoir.
3. Examine the Radiator
Carefully open the radiator cap when the engine is cool. Check the coolant level and inspect the radiator for signs of corrosion, stains, or leaks. A leaking radiator often shows visible crusty or wet patches.
4. Inspect Hoses and Connections
Coolant flows through hoses connected to the radiator, engine, and other components.
Check these hoses for:
- Cracks or Bulges: Old hoses may develop cracks or weak spots.
- Loose Clamps: Ensure all clamps are secure and not leaking.
- Wet Spots: Look for dampness or coolant residue around hose connections.
5. Check the Water Pump
The water pump circulates coolant through the engine. Look for:
- Coolant Drips: Leaks often appear near the pump’s weep hole.
- Corrosion: Rust or deposits around the pump may indicate a leak.
6. Inspect the Heater Core
The heater core is part of the car’s heating system and uses coolant to provide warmth. Signs of a heater core leak include:
- Foggy Windows: Coolant vapor entering the cabin can fog up windows.
- Wet Carpet: Coolant leaking inside the car often soaks the carpet under the dashboard.
- Sweet Smell in the Cabin: A leaking heater core emits a sweet odor.
7. Use UV Dye for Hard-to-Find Leaks
If you can’t locate the leak visually, a UV dye can help. Add the dye to the coolant system following the product instructions. Run the engine for a few minutes, then use a UV light to spot the glowing dye, which highlights the leak’s location.
8. Check the Head Gasket
A damaged head gasket can cause coolant to leak internally into the engine.
Symptoms of a head gasket issue include:
- White Smoke from Exhaust: Indicates coolant burning in the engine.
- Milky Oil: Coolant mixing with engine oil creates a milky appearance.
- Overheating: Persistent overheating can be a sign of a head gasket problem.
What to Do If You Find a Leak
Once you’ve identified the source of the leak, you have several options:
- Tighten Loose Connections: If clamps or hoses are loose, tightening them might solve the problem.
- Replace Damaged Parts: Cracked hoses, a faulty radiator, or a leaking water pump will require replacement.
- Use a Sealant: Temporary sealants can stop small leaks, but they’re not a permanent solution.
- Visit a Mechanic: For complex issues like a blown head gasket, it’s best to consult a professional.
Preventing Future Coolant Leaks
Regular maintenance can help you avoid coolant leaks in the future. Here are some tips:
- Check Coolant Levels Monthly: Ensure the coolant reservoir is at the proper level.
- Inspect Hoses and Connections: Look for wear and tear regularly.
- Flush the Coolant System: Replace old coolant according to your vehicle’s maintenance schedule.
- Monitor Engine Temperature: Address overheating issues immediately to prevent damage.
Conclusion
Checking for a coolant leak might seem intimidating, but it’s a straightforward process that can save you from bigger problems down the road.
By following this guide, you can identify and address leaks early, ensuring your car runs smoothly and efficiently.
Safety is key; always work on a cool engine and consult a professional for major repairs. Happy driving! 🚗💨